Posted in Big Game, Hunting, Outdoors, Whitetail Deer, tagged Antler, Deer, European, FML Outdoors, Head, Mount, Skull, Style on January 19, 2017|
Leave a Comment »
“Mount your own antlers!”
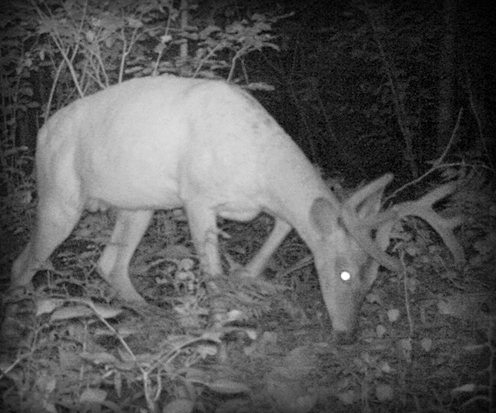
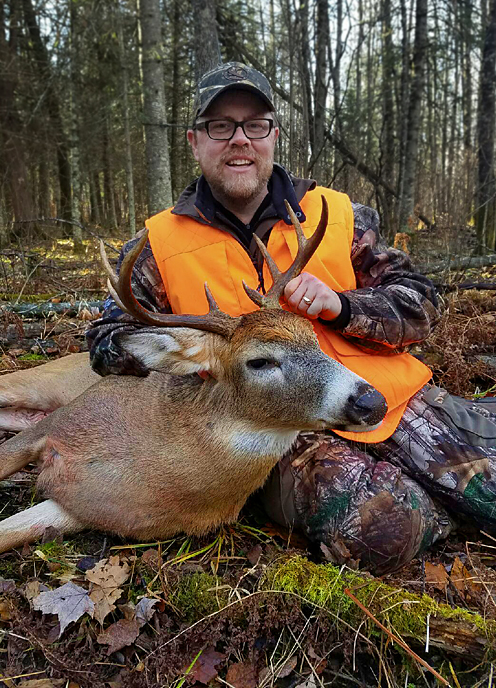
How to Make a European-Style Antler Skull Mount The stars aligned this fall! We put our trial cameras out around June 1st. We left them for two months before checking. We went out earlier in the day and switched-out the USB cards. We returned to the cabin with all eyes glued to the television, as if it where Superbowl Sunday! The sound of holing and hooting soon echoed from our screened-in excitement, as the pictures begin to show what was leaving tracks in our woods! A nice 8-pointer! Not necessarily big enough to head and shoulder mount, but a nice antler mount.
From that day forward, we worked our food plots and spread DEER CAIN, hoping that this dandy-of-a buck wood stick around for fall hunting season.
Sure enough! A half-hour after sunrise this same buck walks within 30 feet of my stand. All are hard work paid off! The hunt doesn’t start on opening day. It starts many months before you hear that first shot!
I called around to see how much it would cost to mount the skull and antlers. Many taxidermist charge around $125 to $150. After researching the web and watching several YouTube videos, I felt comfortable I could tackle this myself.
 Below are my instructions to easily mount the deer head and celebrate the fall harvest with an European-Style Antlers with Skull Mount:
What you will need:
- Large Pot
- Powdered Borax
- Dawn Liquid Dish Washing Soap
- High-Pressure Washer (Borrow one if you have too!)
- Board to mount skull (I bought mine from McKenzie Taxidermy Supply)
- Drywall Anchor to hold the skull to the mounting plate
Instructions:
- Remove hide, eyes, nose from skull
- Fill and heat a large pot of water (This is very stinky and I recommend doing the cooking outside)
- Add a small amount of dish washing detergent and 1-cup of Borax
- Bring the water to a very slow rolling boil (Important, otherwise you may lose bone and cartilage)
- Do NOT let the antlers rest below the water line. They will become white like the skull if you do! The base of my antlers got a little white, which may happen to you. I used brown shoe polish to hide the discoloration
- Slow-boil for 1-hour and dump the water. This first batch of water will be greasy from the meat and brain cooking off the bone
- See what you can pull off
- Continue to fill the pot and bring to slow boil (adding 1-cup borax and a small amount of liquid detergent)
- Soon, the meat will begin to fall of the bone. Use a knife to cut and remove as much as you can
- I went through the ear canal with a piece of electrical wire to help breakup the brain
- Now comes the fun part! Use a high-pressure washer to remove most of the brain matter and meat tissue. Try not to spray in one spot or to close because nose and teeth bone are delicate
- Continue to spray with the pressure washer and/or cook until all meat is removed
 It took me a total of 4-hours to complete. You may lose part of the nose cavity. The bones of the nose are very delicate. Simply, glue them on once everything dries.
The next day, I wrapped the antlers with blue painters tape and sprayed the skull with Matte Acrylic Clear Spray to preserve and protect.
I drilled a hole underneath the skull and recessed the head of a Drywall Anchor Bolt through the back of a Walnut Mounting Board. The skull provides easy access where the spine meets the head. Use a Drywall Anchor that expands and tighten against the mounting board.
That’s it!
Fat Man’s Landing, MN
Read Full Post »